The kitchen is often referred to as the heart of the home, and for good reason. It’s where we prepare meals, gather with family and friends, and even share stories over coffee. However, with all the cooking, dining, and entertaining that occurs in this space, it can quickly become cluttered and dirty.
Over time, cooking releases, fumes, oil, and food particles that stick to the various parts of the kitchen especially high traffic areas like hood, chimney, hob and cooktops. The grease, grime and food particles can become a breeding ground for bacteria and even cause fire hazards if not clean regularly.
This is why a versatile kitchen cleaner spray comes into play as not only it provides an effective solution for keeping these vital kitchen components clean but also ensures efficiency and safety in your cooking space.
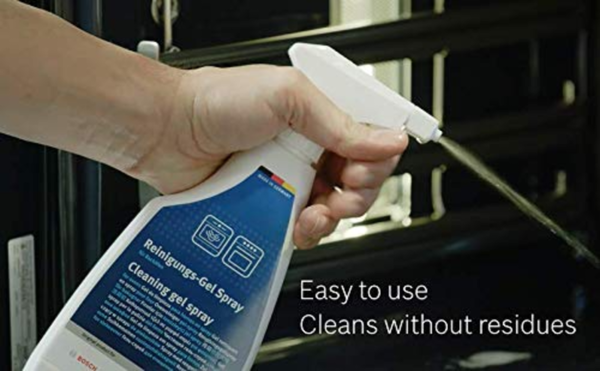
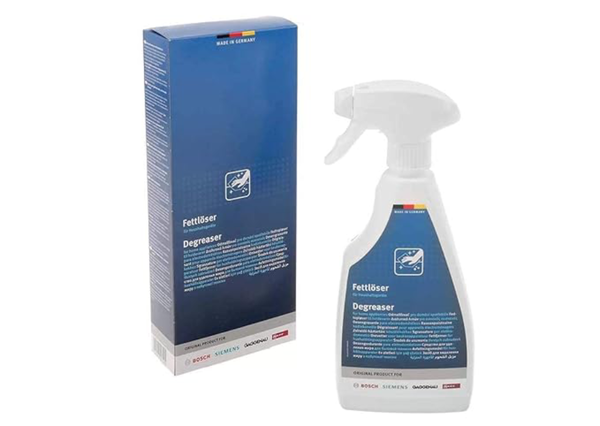
A degreaser gel spray is essential to maintaining a fresh and inviting environment. This article will guide you through the process, providing tips, techniques, and an understanding of how kitchen cleaner sprays work.
Understanding Kitchen Cleaner Spray

Kitchen cleaner sprays contain surfactants that break down dirt and oil, and some may contain additional antibacterial agents to kill germs. Unlike traditional soap and water, which may not completely remove oily residues, kitchen cleaner sprays on the other hand, are designed for high-performance cleaning.
When selecting a kitchen cleaner spray, look for a product that suits your specific needs—whether it's an all-purpose cleaner, a degreaser, or something designed for specific materials like stainless steel, granite, or wood.
Gathering Your Supplies

Before you begin cleaning, it’s essential to gather all your supplies to ensure a smooth and efficient process. Here’s a list of items you may need:
- Kitchen cleaner spray
- Microfiber cloths or paper towels
- Sponges (non-abrasive)
- A mop or bucket (for floors)
- A broom or vacuum (for loose debris)
- Gloves (optional, but recommended for sensitive skin)
- Trash bags (for decluttering)
Step-by-Step Cleaning Process
1. Declutter the Space
Before you start cleaning, take a few moments to declutter your kitchen. Remove items from countertops, the dining area, and other surfaces. This will give you more space to work and make the cleaning process much easier. Consider organizing items as you go, placing them in designated areas or discarding anything you no longer need.
2. Start from the Top Down
The best cleaning practice is to work from top to bottom. This means starting with higher surfaces and moving down to the floors. Dust and debris will naturally fall down as you clean, allowing you to minimize the risk of re-cleaning already-sprayed areas.
A. Clean Upper Surfaces
For cabinets, shelves, and tops of appliances:
- Spray the cleaner directly onto the surface or onto your microfiber cloth.
- Wipe in a circular motion to lift dirt and grime.
- For tough spots, let the cleaner sit for a few minutes before wiping it clean.
- Don’t forget to clean door handles and knobs, as these can harbor bacteria.
B. Wipe Down Countertops
Kitchen countertops become a hub of activity, so they require thorough cleaning:
- Remove any food debris or items from the surface.
- Spray the cleaner generously over the entire countertop.
- Wipe in a back-and-forth motion, paying particular attention to seams and edges where food particles may accumulate.
- For food-safe surfaces, make sure your cleaner is safe for food contact.
3. Clean Appliances
The kitchen often houses various appliances that can get grimy, such as the stove, microwave, refrigerator, and dishwasher.
A. The Stove
- Remove burners if applicable and clean them separately.
- Spray the stove top generously with the cleaner and let it sit for a few minutes to break down the grease.
- Wipe it clean using a sponge or cloth.
B. The Kitchen Hood
The kitchen hood, or range hood, sits directly above your cooking stove. It draws in steam, oil vapors, and odors. Over time, its surface and filters become coated with sticky grease.
- A quality kitchen cleaner spray quickly cuts through the thick layer of grime that accumulates on the outer hood surface.
- Most sprays are safe to use on stainless steel or glass, which are common materials in modern hoods.
- You just spray, let it sit for a few minutes, and wipe it clean with a microfiber cloth or sponge.
C. The Hobs
Hobs come in gas, electric, or induction varieties and are often the most used part of a kitchen. They regularly face spills, stains, and burnt food residues.
- Whether it’s toughened glass or stainless steel, a good cleaner spray maintains the finish without scratching.
- Most sprays are fast-acting, which means you can clean your hob in a few minutes after every use, preventing buildup.
4. The Chimney
The chimney works together with the hood to extract fumes, grease, and smoke. Its inner filters and outer surfaces become greasy over time, affecting performance and appearance.
- Chimney surfaces especially in stainless steel or aluminum; attract fingerprints and oil stains. A cleaner spray restores the surface shine.
- While inner filters require periodic deep cleaning, the outer parts can be maintained regularly using the spray.
- Regular spray cleaning keeps the chimney functioning efficiently by preventing grime from hardening.
5. The Cooktop
A cooktop or stovetop is the platform where pots and pans rest during cooking. It’s prone to getting dirty multiple times a day, especially after heavy cooking sessions.
- From turmeric stains to burnt milk, the cleaner handles a wide range of messes.
- Quality kitchen sprays are non-acidic and non-corrosive, making them safe for enamel and ceramic surfaces.
6. Finish Up
After completing the cleaning process:
- Replace any items you removed during decluttering, returning them to their respective places.
- If you used cloths or sponges, make sure to wash them thoroughly or replace them as needed.
- Consider setting up a regular cleaning schedule to keep your kitchen looking its best.
Additional Tips for Effective Kitchen Cleaning
- Read Labels: Always read the instructions on the cleaning product label. Some sprays may require you to allow a certain dwell time or to rinse surfaces afterward.
- Ventilation: Open windows or turn on a fan when using cleaning sprays to ensure good air circulation, especially if using strong chemical cleaners.
- Test Surfaces: Before applying any cleaner, test it on a small, inconspicuous area to ensure it won’t damage the finish.
- Keep It Regular: Maintain a routine cleaning schedule to prevent dirt and grime buildup. Quick daily clean-ups can save time in the long run.
Conclusion
Cleaning your kitchen with a kitchen spray doesn’t have to be hard. With a few simple steps and tips, you can keep your kitchen clean, healthy, and inviting. A tidy kitchen helps keep your family safe and makes your home look nicer too.
By incorporating regular spray cleaning into your kitchen routine, you not only enhance the efficiency and lifespan of your appliances but also create a healthier cooking space for your family.
Shop now and experience the difference!


